How to Paint Wood Projects Like a Pro Using Surfpaints 👌

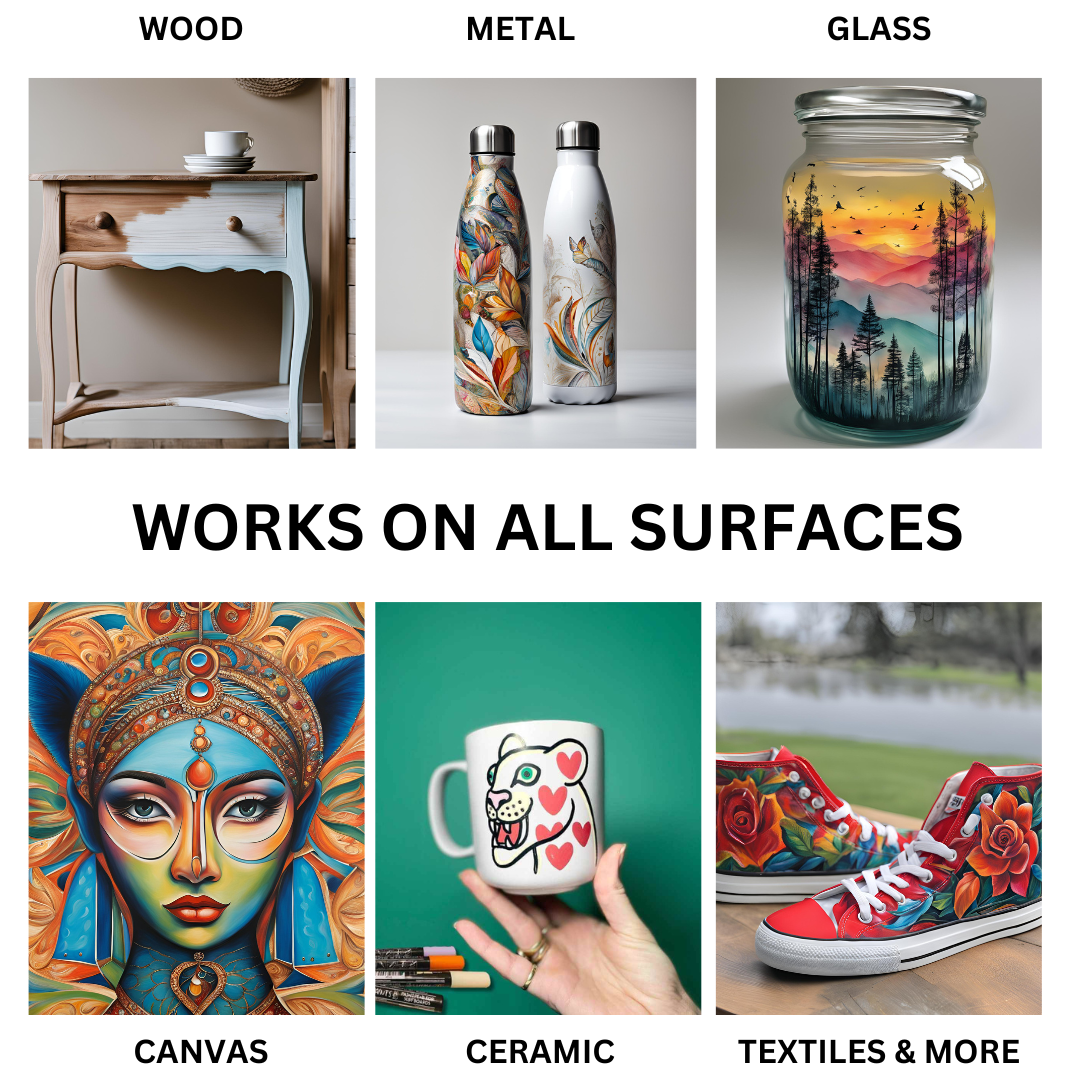
When it comes to wood projects like boards, guitars, skateboards, or even small wooden decor, Surfpaints are a game-changer!
They’re mess-free, vibrant, and perfect for artists of all levels.
If you're ready to turn your wood projects into eye-catching art, these five simple techniques will get you there in no time.

1. Prep Your Surface
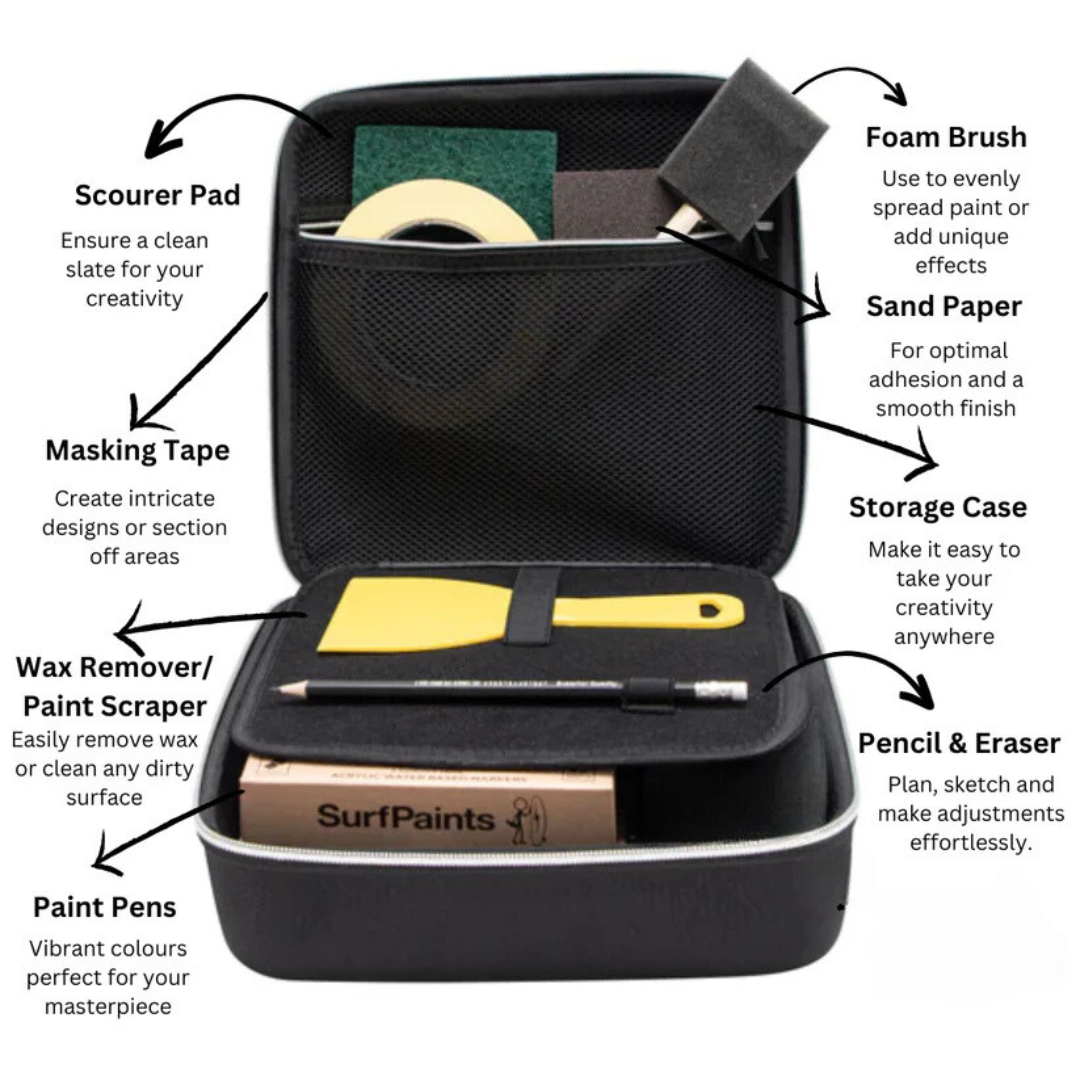
Start with a smooth, clean surface. Sand down any rough spots and wipe off the dust. A smooth wood canvas helps your paint glide on effortlessly, making your designs pop even more. Priming with a clear or white base coat also helps colours look bolder.

2. Layer It Up
Don’t rush to get that bold colour in one swipe. Build up your colours in layers. Let each layer dry before adding more—this prevents streaking and helps achieve a richer, more vibrant finish. Plus, layering gives you more control for those detailed designs.
3. Master the Fade
Want that cool gradient effect? Try fading two colours into each other. Start by applying both colours where you want them to meet, and blend gently by overlapping the edges using light, circular motions. Smooth transitions between colours add depth and interest to your designs.

4. Fine Details with Reversible Nibs
For intricate designs or lettering, Surfpaints has you covered with reversible nibs. The 4mm nib can be flipped to a precise 1mm side, making it perfect for fine lines and details. Whether you're creating sharp, clean lines or delicate patterns, having this flexibility adds a professional touch to your work.
5. Seal the Deal
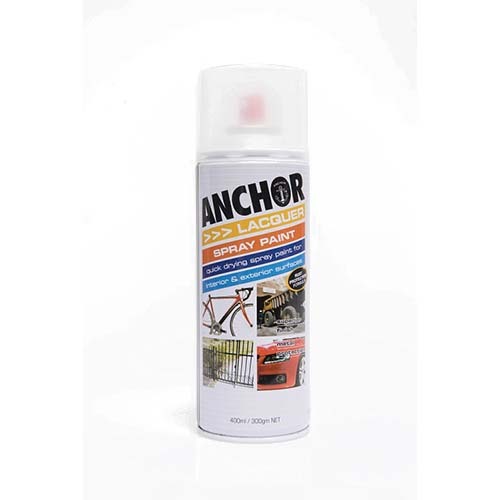
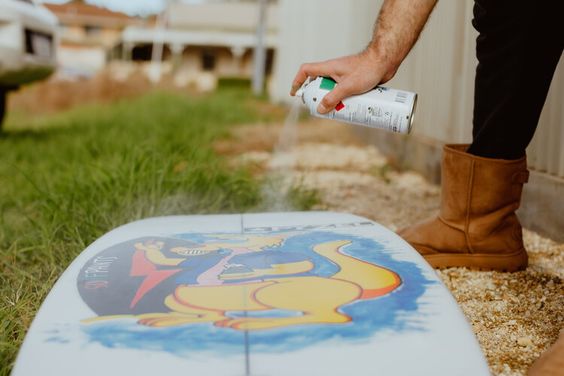
Once your masterpiece is complete, protect it with a clear sealant. This helps the paint resist wear and tear, keeping your artwork looking fresh for longer. It’s especially important for functional pieces like skateboards that will see a lot of action.

Now that you're armed with these simple yet powerful techniques, it's time to dive into your next wood project.
With Surfpaints, the possibilities are endless, and your creativity can shine through every stroke!


