How To Paint A Surfboard with Surfpaints
Step 1 - Remove the wax
Remove wax from the surfboard with a sturdy wax comb. Generally, a good wax comb will get the wax off. However, if you live in a cold environment or find yourself with layers of old wax, then you may find it helpful to let the wax melt by placing the board (wax up) in direct sunlight for 3-5 minutes, depending on how hot it is. Another chemical-free alternative to assist with wax removal is to use a hairdryer and blow hot air on the wax until it starts to melt. If you have a brand new surfboard, you can skip this step and move onto step 2.
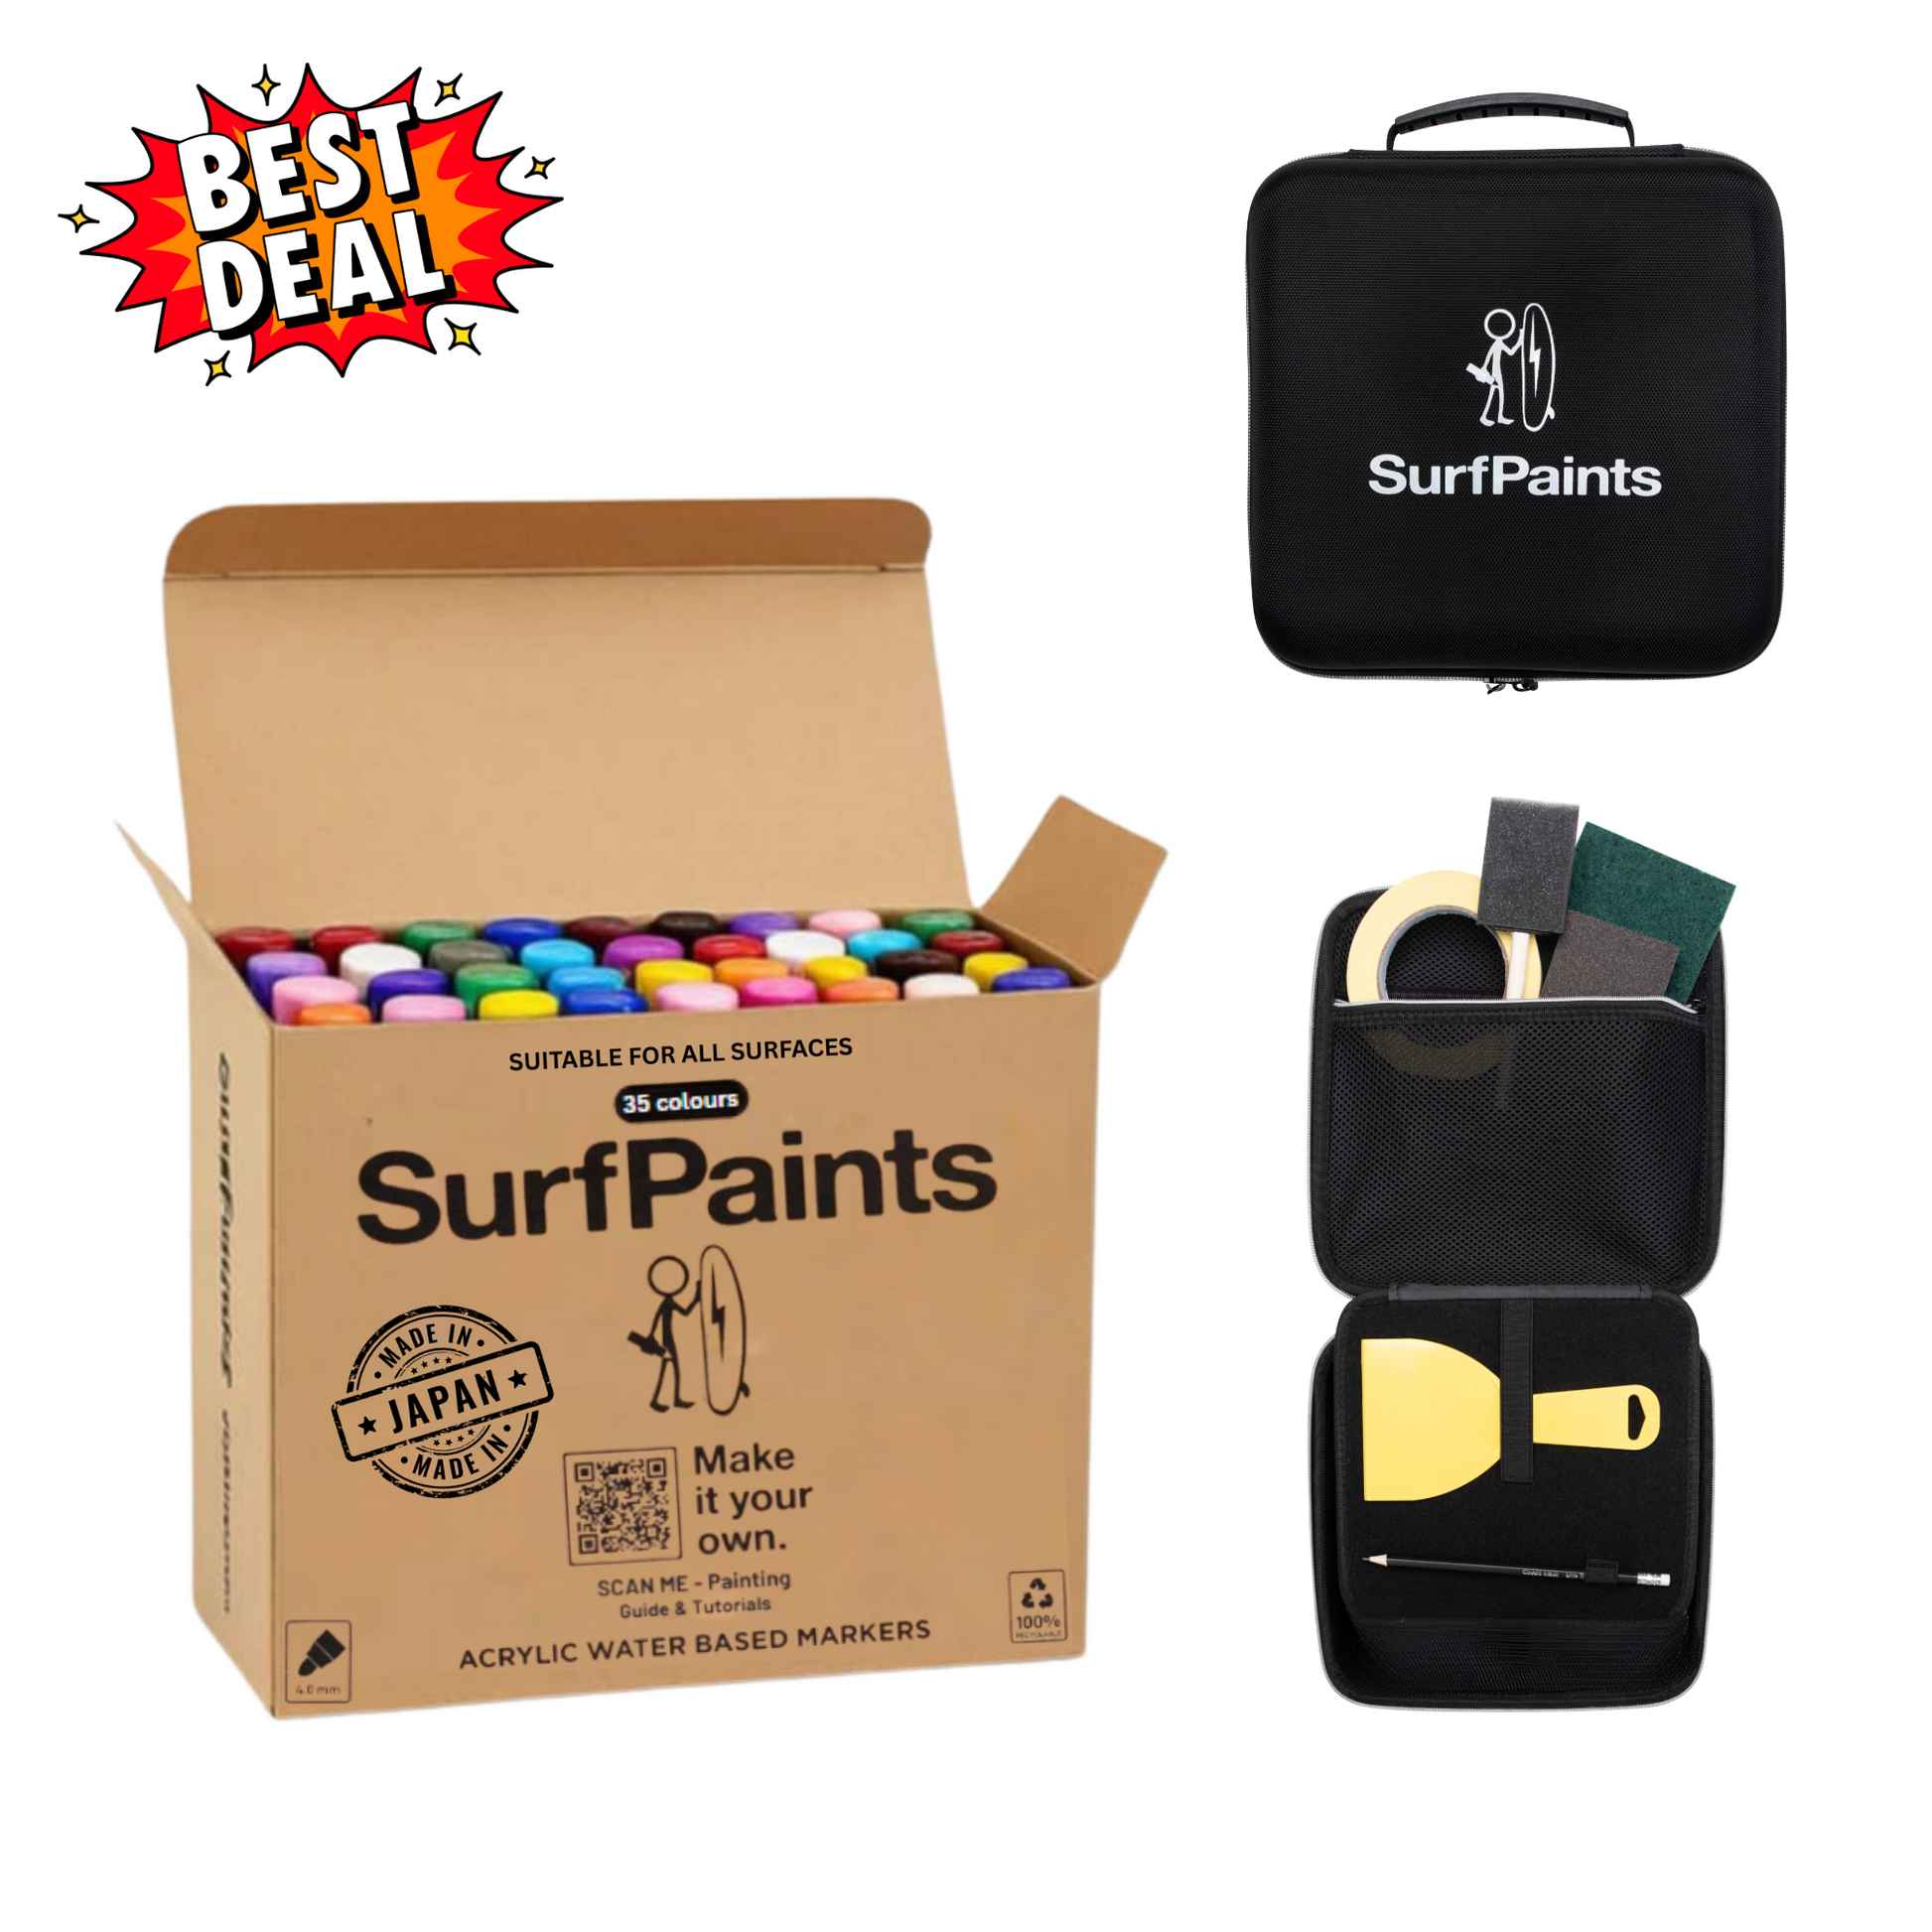
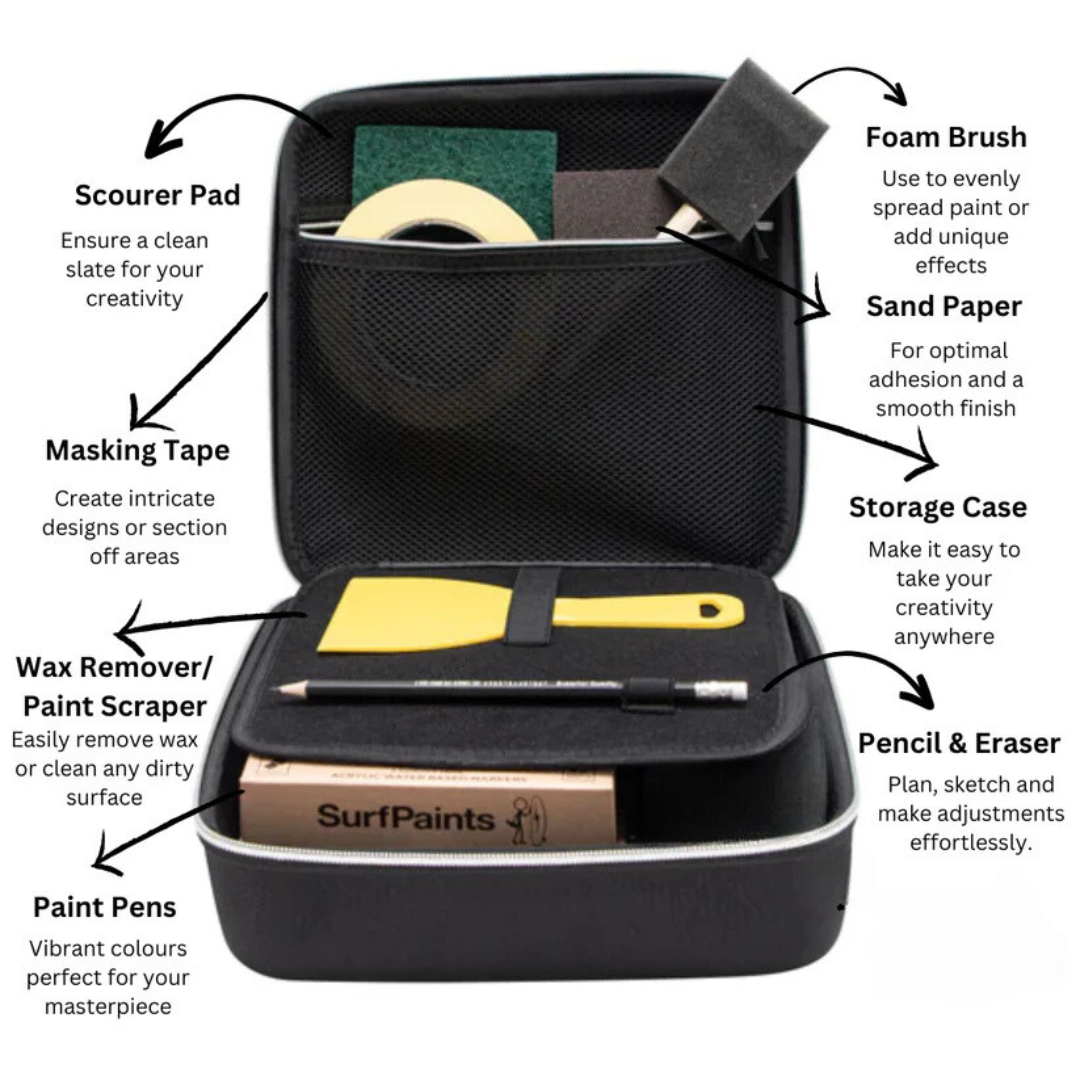
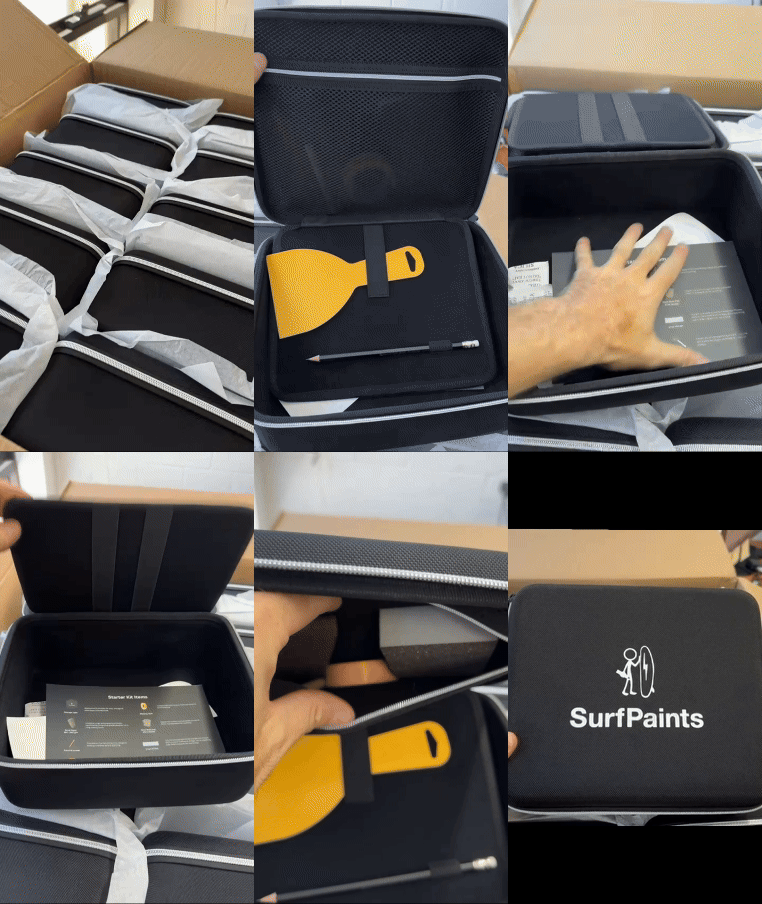
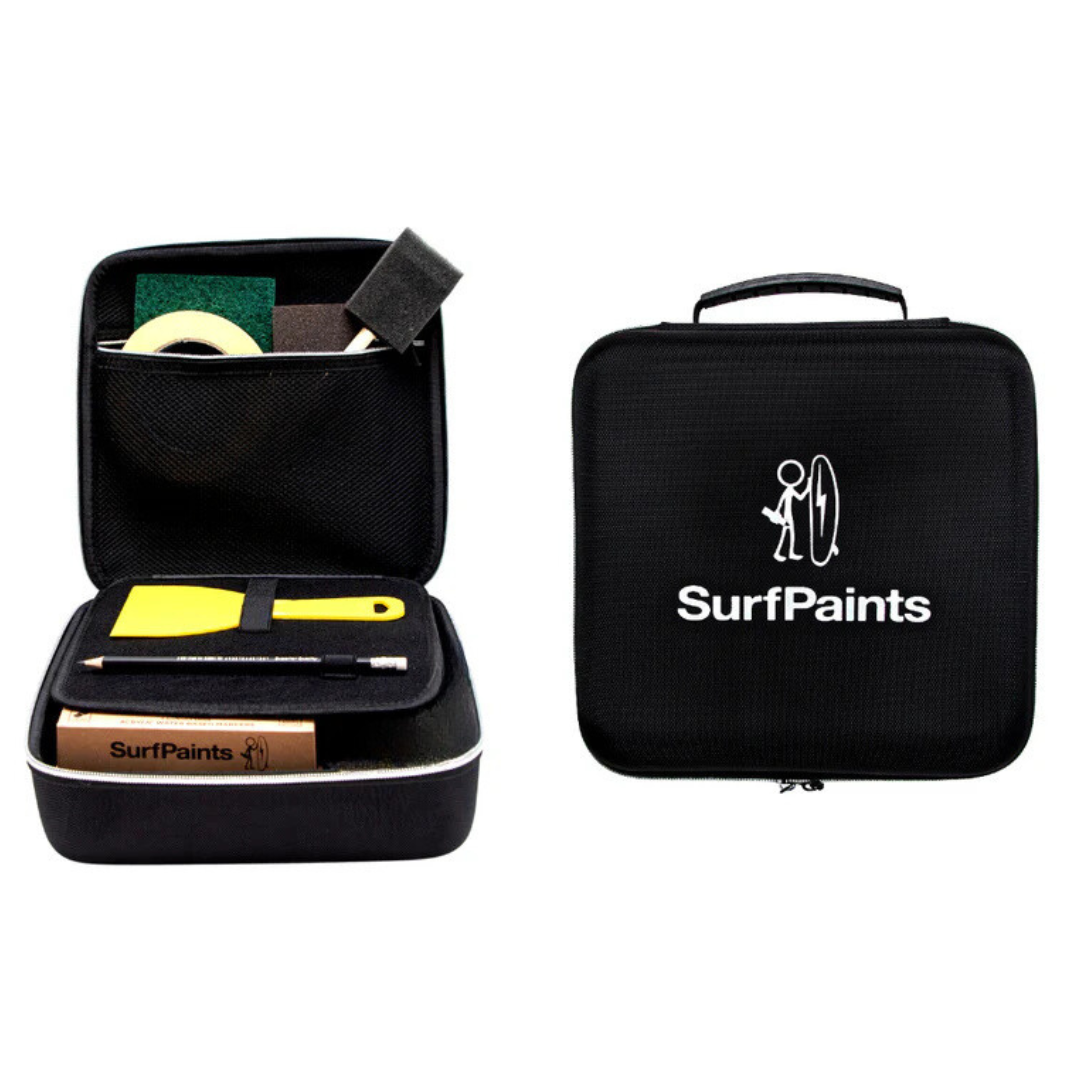
Check out SurfPaints' Starter Case, which includes a Paint Scraper for easily removing wax from a surfboard or cleaning any dirty surface before painting, along with all the paint accessories you need.
Step 2 – Clean the Surfboard
Once the majority of the wax has been removed with a wax comb, then it is time to remove the last remaining wax bits and visible dirt. Remove the last bit of wax using steel wool 'fine' grade. The steel wool is great for removing the last remaining bits of wax and any other grease or dirt on the board. It makes cleaning the board effortless, and you’ll be amazed at how well it works. The steel wool should be used by rubbing it up and down to clean all of the surfboard until there is no visible wax or grease remaining. If you have a brand new surfboard, then it is still very important to clean the surfboard from grease and dirt that lie on the surface. Brand new surfboards usually contain finger marks and dust that have been collected via transport and storage.
Check out SurfPaints' Starter Case, which includes a Bundle of Steel Wool, ideal for surface cleaning and ensuring a pristine canvas for your artwork, along with all the paint accessories you need.
Step 3 - Lightly Sand
Surfboards need to be lightly sanded before the application of paint pens. Sanding creates these rough ridges on the board that provide better adhesion for the paint to bond to the surfboard. If the board isn’t lightly sanded, it is at risk of flaking off. Lightly sanding a board is crucial for the longevity and flow of paint pens on the board. Not sanding a board before painting is usually the contributing factor of paint jobs peeling off and streaky paint. The best sandpaper to use is a 180-240 grit.
Sand the surfboard by moving the sand block in a circular motion (like in this video or photo) until you start to see a fine, white, powdery mixture come off the surfboard. After sanding the area, wipe down with a paper towel or rag to clear the area of sanding residue. Well done! All the boring stuff is done. You’re now ready to paint your surfboard.
Check out SurfPaints' Starter Case, which includes a Sandpaper Block to prepare your canvas for optimal adhesion and a smooth finish, along with all the paint accessories you need.
Step 4 - Plan your surfboard art
Planning for your next surfboard project doesn’t have to be extensive and in-depth, leaving you feeling overwhelmed or underprepared. It can be as easy as getting up a photo from Instagram of a surfboard design that you liked and trying to replicate the image to the best of your ability.
You may decide to use a pencil to outline the drawing or graphics to help with space awareness. A very popular option is to complete a “Google” search and print off something you may like for tracing on the board, e.g., Mandala silhouette.
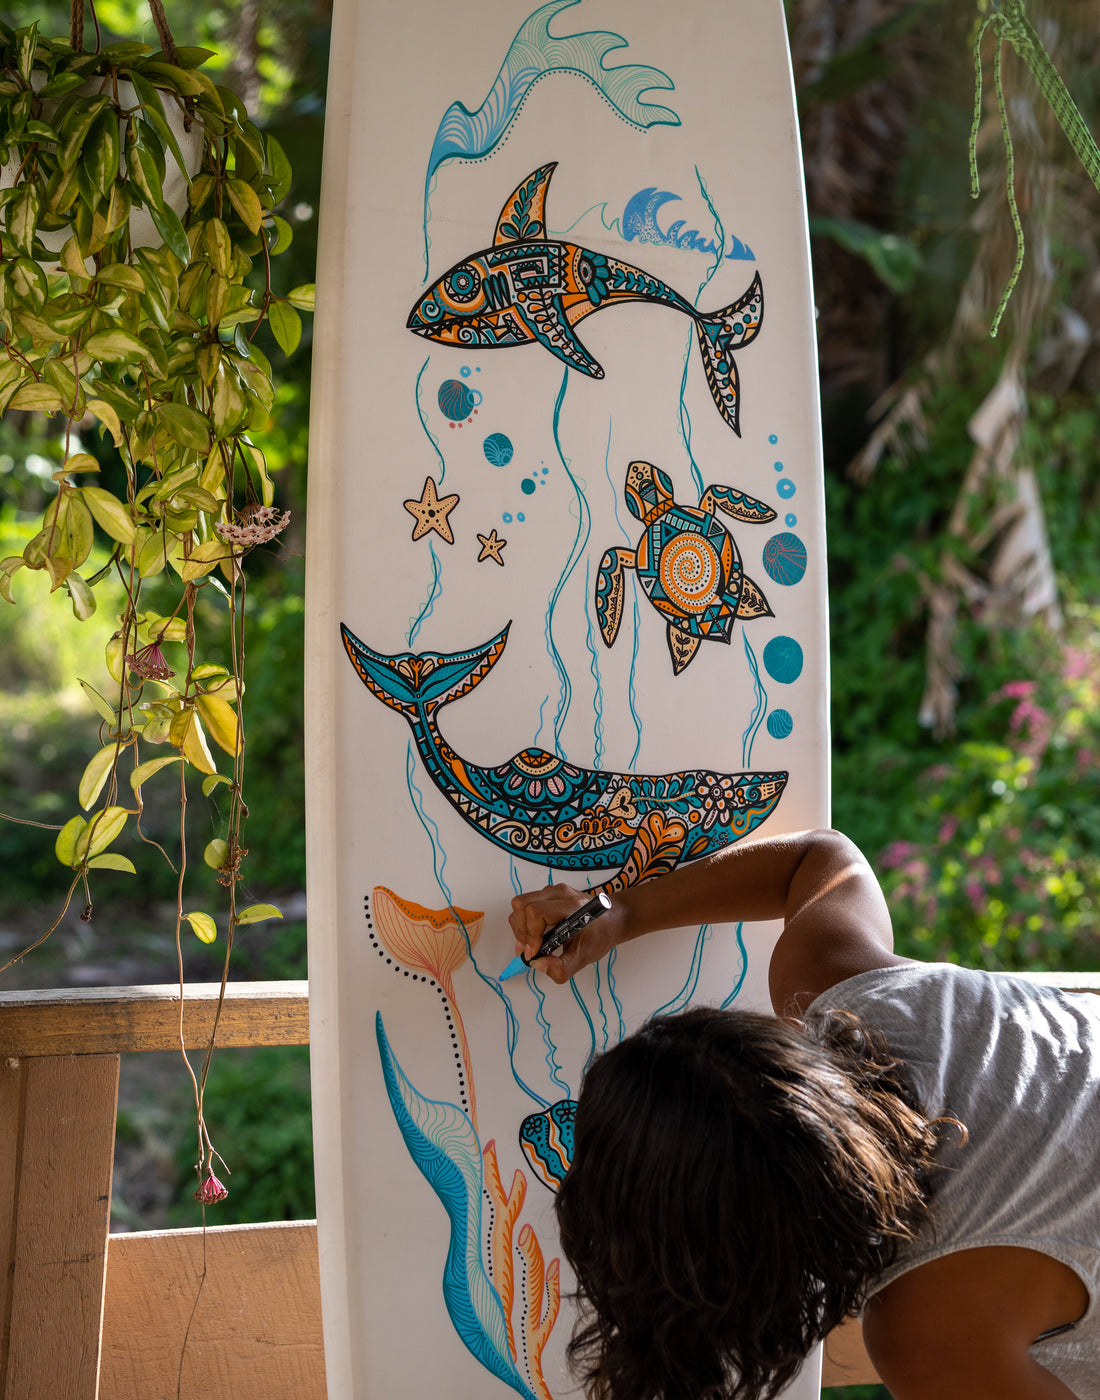
Some surfers tend to just do what feels right and just start painting! This is an awesome way to express yourself, and thankfully, Surfpaints paint pens are acrylic water-based markers so they can be easily removed if you make a mistake.
Be sure to check out @surfpaints Instagram page for surfboard art ideas.
Step 5 – Paint your surfboard with Surfpaints
Shake the paint pen to allow the ball inside the pen barrel to mix paint. Prime and test paint pens by pressing down on test paper to fill the nib with paint. Once the pen has a clear line and flow on test paper then it is ready for applying to the surfboard. If the paint flows less freely during application, then re-prime the pen on test paper. Place the pen cap on after use to avoid drying out the nib. Paint is permanent on porous surfaces such as surf leashes and removable on non-porous surfaces such as fiberglass. A varnish spray is required over fiberglass and other non-porous surfaces to prevent paint rubbing off. Please see Step 6 for applying a varnish spray.
There are plenty of ways to use paint pens so check out our Surfpaints YouTube channel for tutorials or follow @surfpaints for tips and tricks.
Step 6 – Apply a varnish spray to seal the artwork.
This step is very important. As a fellow surfboard painter, I’ve experienced too many disappointments with surfboard art coming off due to not applying a clear coat varnish spray correctly. The common mistakes are not applying enough coats for sealing the paint from scratching off or not using the right clear spray.
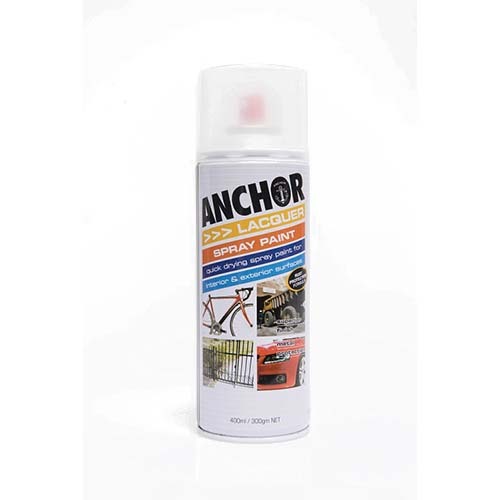
The clear coat needs to be an acrylic clear varnish spray paint. Acrylic paint is a non-toxic, water-based paint that dries fast and works best on surfboards. Other paints like enamel are generally oil-based and designed for indoor use which can crack the paint and turn a surfboard yellow over time.
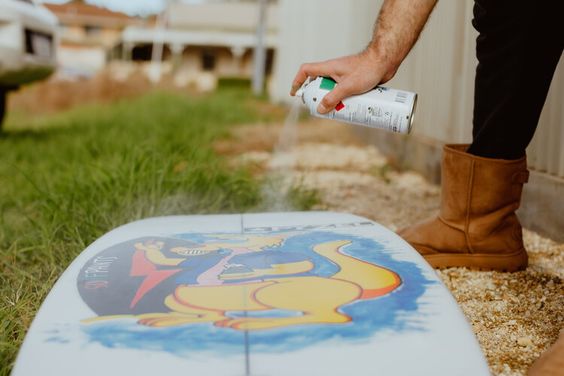
Spray at least 3 coats of spray paint over your artwork. The first 2 coats should be very light coats and allow 10 minutes in between each coat to settle. The 3rd coat should act as a heavier coat by holding the spray nozzle down longer and using a machine-like motion over the artwork.
Allow 24 hours for the clear coat to fully set and seal the artwork. A good way to test if the surfboard is sealed is to lightly rub your fingers over the board and make sure there is no smudging or paint peeling off. If there are some spots that are smudging, then you will need to touch up again with the paint pens and apply more clear spray to the affected area.
Once you are happy with the sealing of your artwork, the board is ready to surf! Please share your artwork on Instagram and tag @surfpaints for your chance to win a monthly prize.
If you make a mistake – Removing the paint.
You don’t always need chemicals to remove Surfpaints paint pens! Please follow the below steps if you are required to remove paint at any stage of an art project.
If it is a minor mistake, then try to go over the area again once the paint has dried.
If the paint is wet, then simply wipe away with a rag or paper towel until it has disappeared. Sometimes you will see a smudge mark left which may require a light rub using steel wool.
If the paint is dry, then use steel wool to remove the paint.
If the paint has been clear coat sprayed, then sand back the clear coat and artwork using 120 - 180 grit sandpaper.
Check out SurfPaints' Starter Case, which includes a Sandpaper Block to prepare your canvas for optimal adhesion and a smooth finish, along with all the paint accessories you need.
A few things to keep in mind
Soft top surfboards and Bodyboards.
Soft top surfboards and bodyboards. These boards can be painted with Surfpaints paint pens. The bottom of a soft top surfboard and bodyboard generally have a plastic slick surface which allows pens to apply freely and can be sealed with an acrylic clear coat varnish spray (Follow how to paint a surfboard steps above).
However, the top of soft top boards consists of a spongy foam-like substance filled with air pockets. Surfpaints have trialed with this for a couple of years now and have found that the pens go on smoothly but it is very hard to seal the paint with a clear coat varnish spray, which means it will come off eventually in the water. The main reason the paint can’t be sealed is that once you press down on a soft top board it will break the dry clear spray which will crack the paint and come off. Some soft top boards adhere better than others and can last longer with a clear spray. However, surfpaints do not recommend painting on the TOP of a soft top surfboard or bodyboard because it will not seal and therefore not be a permanent art piece on your surfboard.
Happy painting!
Surfpaints

