How to use Tracing Paper to achieve your dream design!
How to use Tracing Paper to achieve your dream design!

Tracing paper can be a great tool to help you achieve your dream design. If you have thought about experimenting with it, There is a couple of must-do steps which will make using Tracing paper easy. We thought we should share the ticks to the trade as It is always good to have an extra helping hand to achieve your dream design.
- Choose the image or design you want to trace online. This could be a drawing, a photograph, or anything else you want to replicate. Then save the design to your photos,
- Edit the design by selecting crop, then Flip the image then print out design
- Place the tracing paper over the design. Make sure that the paper is aligned correctly and is not wrinkled.
- Secure the tracing paper and the image with tape or blue-tack to prevent it from moving while you trace.
- Use a pencil to trace the lines of your design onto the tracing paper. Remember to trace all the important details, but don't worry about shading or colour.
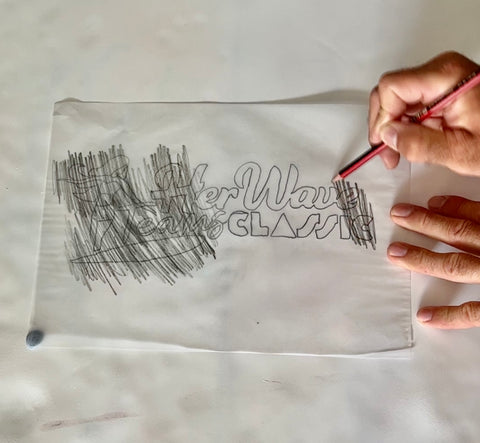
- Once you have finished tracing, remove the tracing paper from the design, Then to transfer the design onto another surface, Flip the tracing paper over and use a pencil or pen to retrace the lines onto the new surface.
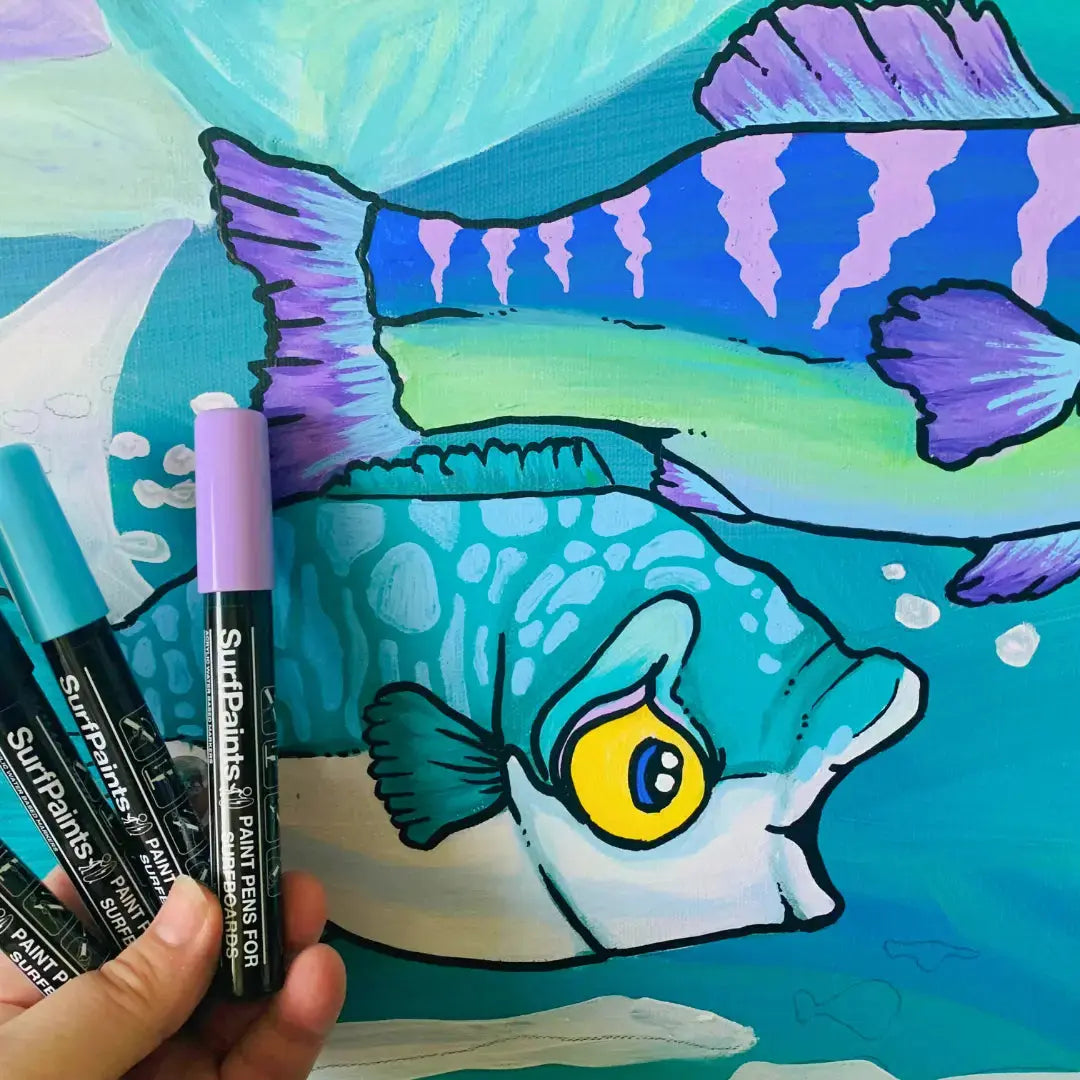
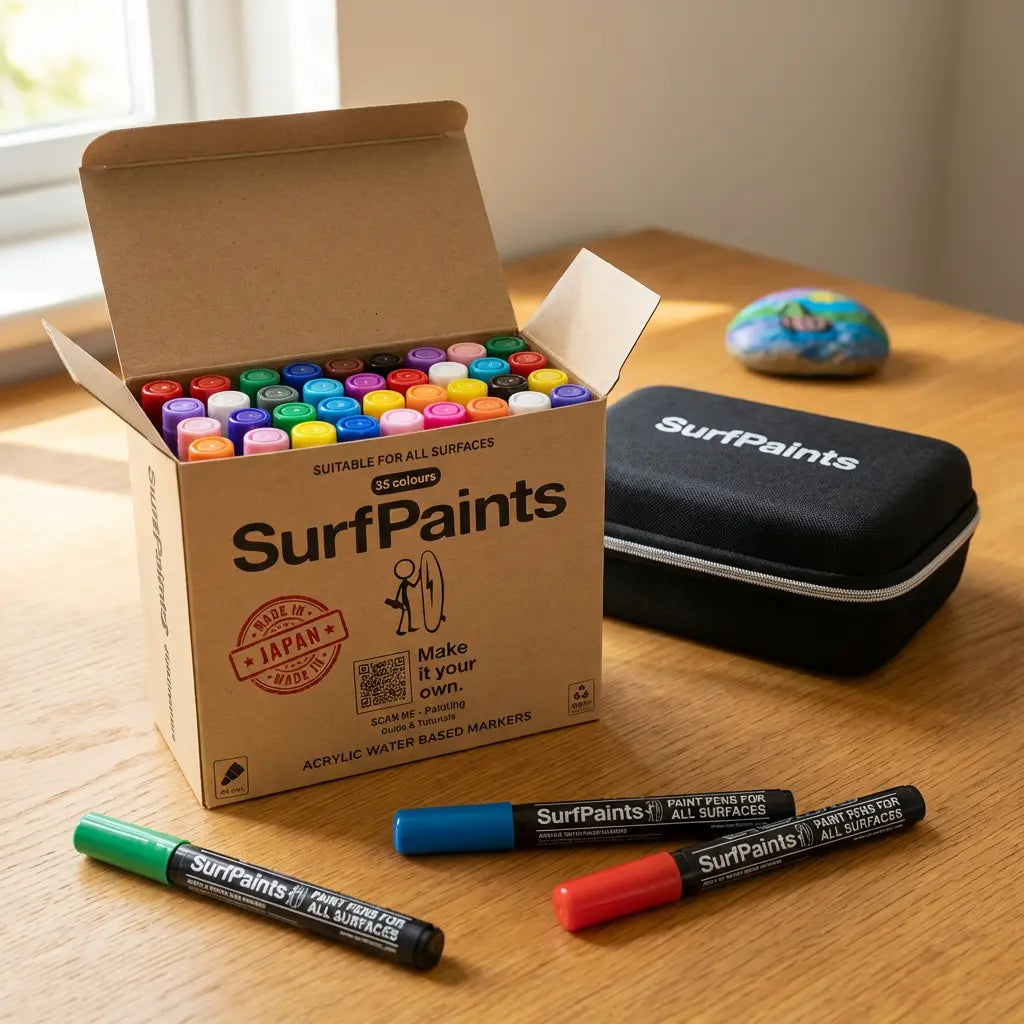
- Then use SurfPaints to colour in your design
Hot Tips:
- Make sure to use a light touch with your pencil when tracing, so that the lines are light and easy to erase if needed.
- If you're having trouble seeing your design through the tracing paper, try placing a light source behind the paper to make it more visible.
- Make sure to use a pencil or pen that will not bleed or smudge on the tracing paper.