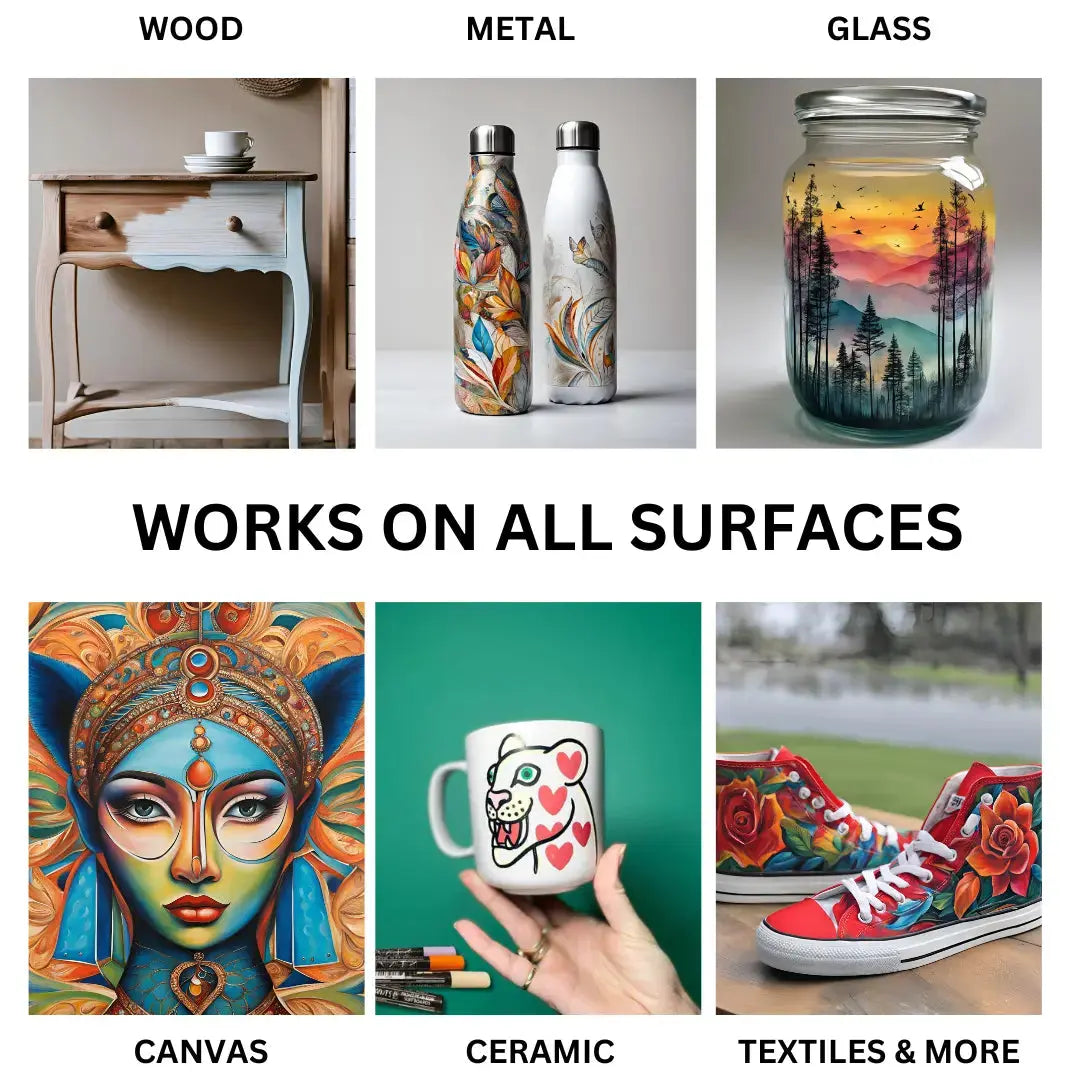
Add custom patterns to your favorite coffee mug, wine glass, or ceramic centerpiece. ☕
Transform Your Home with Surfpaints: Simple Steps to Paint Glass, Mugs & Ceramics!

Ready to add a splash of creativity to everyday items like mugs, glassware, or ceramics? With Surfpaints, you can turn ordinary home objects into eye-catching, personalized art. Let’s walk through how to prime, paint, and seal your creations for long-lasting results—while keeping things safe and stylish!

Step 1: Prime Your Surface
Before you start painting, it’s essential to prepare your surface. For glass, ceramics, or glazed mugs, wipe everything clean with rubbing alcohol. This helps the paint stick better and gives you a smoother finish. If you're working on rougher ceramic pieces, a light sanding will help the paint grip nicely.
Before you start painting, it’s essential to prepare your surface. For glass, ceramics, or glazed mugs, wipe everything clean with rubbing alcohol. This helps the paint stick better and gives you a smoother finish. If you're working on rougher ceramic pieces, a light sanding will help the paint grip nicely.

Step 2: Time to Paint!
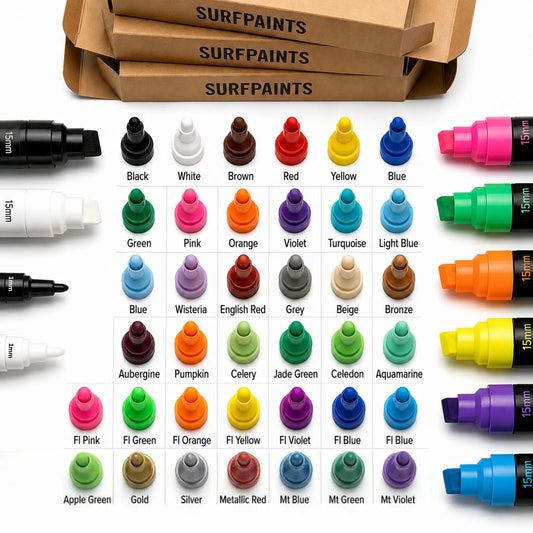
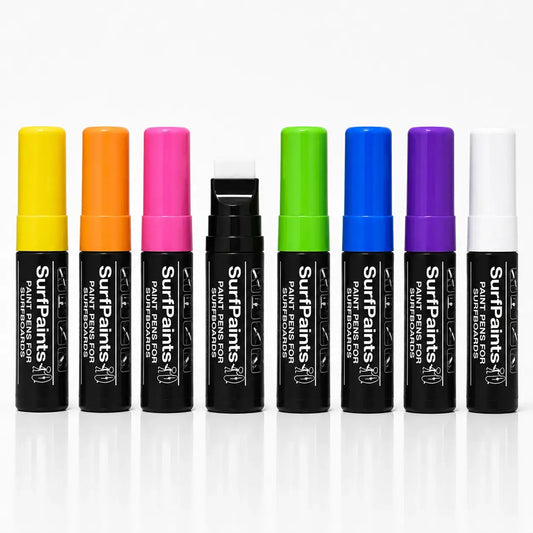
Now comes the fun part! Shake your Surfpaints well and test it on a scrap surface to make sure the paint flows smoothly. Start with light strokes, layering as needed to build up colors. These pens give you incredible control, so go ahead and get detailed!
For Glass: Go slow—glass is slippery! Fine-tipped pens are great for intricate designs, while bolder tips give a more dramatic effect.
For Mugs & Ceramics: These pens work wonders for designs, patterns, or even fun quotes. Just remember to paint the outside only—Surfpaints are not food-safe yet, so avoid painting where your lips will touch.

Step 3: Seal Your Masterpiece
To make your art last, you need to seal it properly. After the paint is dry (give it a good 24 hours to be safe), spray a clear, non-toxic sealant over your design to lock in those colors. For mugs and ceramic dishes, an oven bake at 160°C for 30 minutes can also help bond the paint—just place your item in a cold oven and let it heat up slowly to avoid cracking.
To make your art last, you need to seal it properly. After the paint is dry (give it a good 24 hours to be safe), spray a clear, non-toxic sealant over your design to lock in those colors. For mugs and ceramic dishes, an oven bake at 160°C for 30 minutes can also help bond the paint—just place your item in a cold oven and let it heat up slowly to avoid cracking.
 Safety First!
While Surfpaints are water-based and safe to use, they are not food-safe yet. Always paint only the outside surfaces of mugs, plates, or bowls, ensuring that your designs don't touch areas that come into contact with food or drink, especially around lips and mouths.

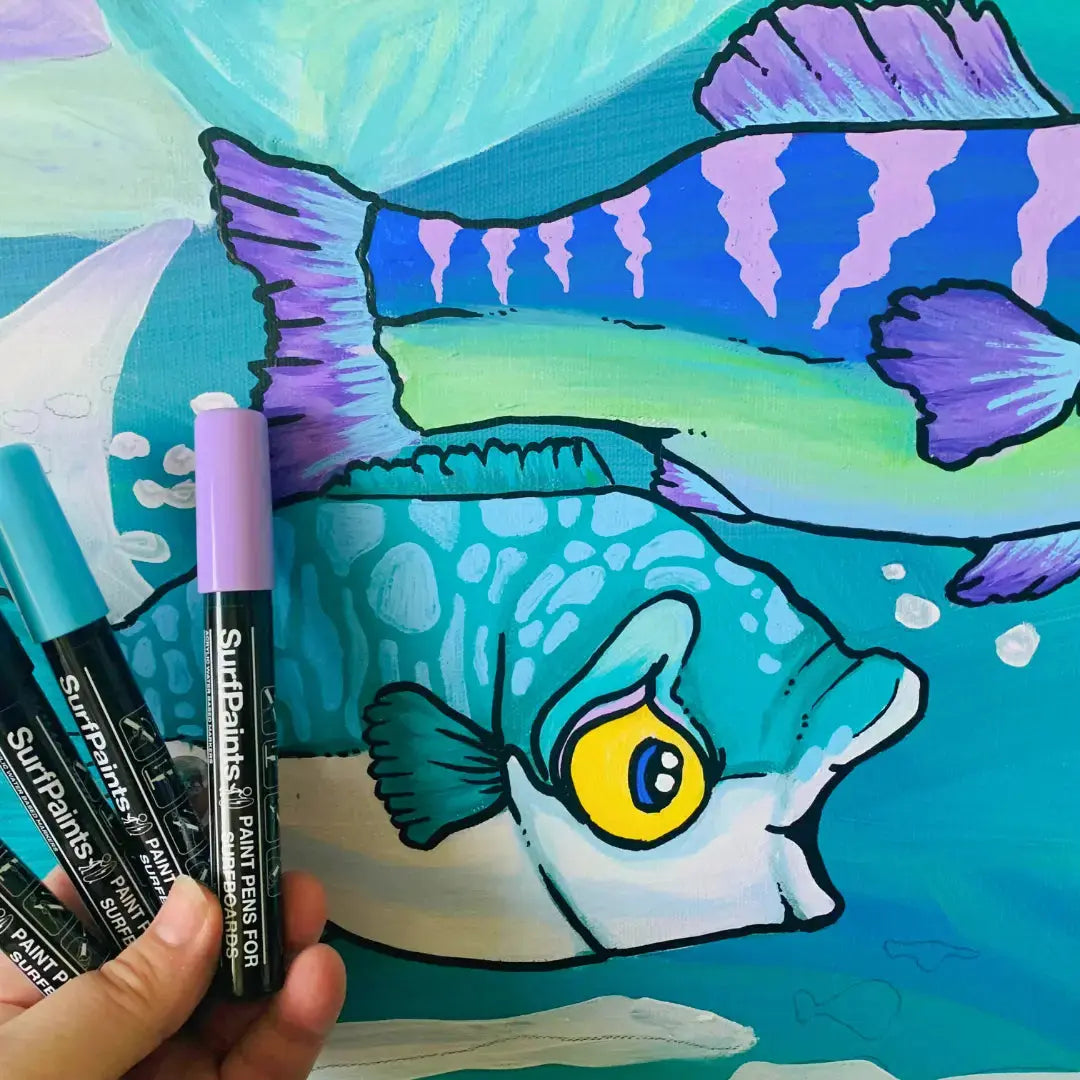
With Surfpaints, there’s no limit to what you can create. Try different techniques like stippling, layering, or even blending colors while the paint is wet. Whether you’re sprucing up an old vase, creating a one-of-a-kind mug, or decorating glassware, you’ve got the tools to make something truly unique. The best part? You’ll have a home filled with art that truly reflects your style.
Ready to get painting? Grab your Surfpaints and start transforming your home today!